Installation
Over the years, we have experimented with a range of approaches to setting you up with a programming environment, and we have come to the conclusion that Podman1 is the most robust way to ensure a consistent experience. This guarantees that all students end up with the same versions of each library, that difficult-to-diagnose hardware/OS issues are minimised, and that running/recovery is the most straightforward.
What Kind of Computer?
Apple has stopped using Intel computer chips and now uses its own ‘Silicon’ (aka ‘M’) chips instead. Confusingly, these are often also referred to by their technical specification as AMD64 (Intel) and ARM64 (Apple), respectively. To find out which you have, click on the Apple icon () and select About this Mac. Look at the Processor section and you should see which type of computer you have. If you see the word Intel then you have an Intel computer, if you see M1, M2, M3, etc. then you have an Apple Silicon computer.
It is highly unlikely that you have a 32-bit machine, so if in doubt download the 64-bit version. It is also unlikely that you have an ARM device if you have an off-the-shelf Windows computer.
Please download all of the Essential packages for your type of computer (Apple Intel, Apple Silicon, Windows). The rest are listed for your convenience and you can install them as you see fit.
System Updates
Before going any further, please ensure that your computer is fully up-to-date with all Operating System and application updates before following any of the other steps in this brief guide to getting started.
Base Utilities
In order to access the majority of the features that this module uses, you will need to install several ‘base’ utilities:
You need the Xcode Command Line Tools installed on your Mac. In some cases this may have already been installed, but it’s the same process to check as to install:
- Open the
Terminalapplication (which can be found underUtilitiesin yourApplicationsfolder). - Type the following:
xcode-select --installand then hit Enter (⏎)
Unless you get an outright error you can proceed to the next step:
- Although not strictly necessary, you’ll eventually want the Homebrew package manager, which can also be installed directly from the Terminal.
You first need to check that virtualisation is enabled on your computer. This is under Windows Features where you need to make sure that the following options are ticked:
Virtual Machine PlatformWindows Hypervstor Platform- If you have to change these settings then you then need to restart your machine.
You then need to install WSL2 but, strangely, you do not actually need to install a full Linux O/S, so as far as we can tell this means you only need to run the following commands in the Windows PowerShell:
wsl --installshould quickly install the subsystem that we need.
That should be it: Podman (and Docker) should now run without complaint.
- There is good guidance from Microsoft for Windows 11 and more recent ‘builds’ of Windows 10.
- There are also older instructions for Windows 10.
Common installation errors are covered here.
Finally, if you are still being told that you can’t install WSL2 and Linux, then the most likely cause of this issue is a setting in the BIOS of the computer itself. There are a couple of settings that need changing at a very low level to enable Hyper-V virtualisation. I would start by following this MS guide and, if there is still a problem, check this blog post.
Software
- Essential:
- Optional:
- Essential:
- Optional:
- Essential:
- Windows Terminal installed via either Windows Store or
winget. - Podman Desktop
- Windows Terminal installed via either Windows Store or
- Optional:
I you want to know more about the differences between Podman and Docker you can start_here.
Installing
One way to think of Podman is as a ‘library’ of ready-made virtual computers that you can copy and use free-of-charge. If you’d like to know more about what Podman are and how they work, you can read more in the Understanding Virtualisation section.
Please ensure that you have installed WSL2 before installing or Podman! If you cannot install WSL2 then please have a look at the ‘dealing with errors’ section.
After you’ve downloaded Podman:
- Install it – usually this will mean opening the image and either dragging it your Application folder (Mac) or running the installer (Windows)
- Start it up – double-click the Podman icon in your Applications folder to start the application running.

If you didn’t see this (or see lots of errors) then you will need to have a look at the ‘dealing with errors’ section.
Installation on a Mac should be fairly straightforward (as evidenced by the dearth of documentation), but for Windows there is quite a bit more detail.
Configuration
Podman requires you to create a virtual machine with user-specified characteristics before you can run an image. You can think of this as specifying the ‘hardware’ of the computer before you buy it (How much RAM? How big a hard drive? And so on.). In principle, this means that you can have more than one valid configuration at a time which would allow you to tune each virtual machine to your needs (one machine could have a lot of memory, another a lot of storage). You can read a more detailed explanation of how to configure a virtual machine, but below is the ‘quick start’ version.
In the Terminal you simply:
podman machine init
podman machine start
In the PowerShell or Window Terminal you should be able to simply:
podman machine init
podman machine startIn a small number of cases we’ve need to create a new, named virtual machine (e.g. podman machine init myvm) and then change the default. Hopefully this isn’t going to be needed.
Testing
To test if Podman is installed correctly, you will need either the Terminal (macOS) or the Windows Terminal (Windows).
Whenever you see a ‘code block’ below, you will also see a ‘clipboard’ icon (![]() ) in the right. Click that, and the code will be copied to your computer’s ‘clipboard’ so that you can then paste it into the
) in the right. Click that, and the code will be copied to your computer’s ‘clipboard’ so that you can then paste it into the Terminal or Windows Terminal (see Base Utilities. That will save you a lot of time and effort.
Podman has provided a simple way to test if your installation is working correctly. You can run the following command:
Podman
podman run hello-worldThis should output something like:
Resolved "hello-world" as an alias (/etc/containers/registries.conf.d/000-shortnames.conf)
Trying to pull quay.io/podman/hello:latest...
Getting image source signatures
Copying blob sha256:1ff9adeff4443b503b304e7aa4c37bb90762947125f4a522b370162a7492ff47
Copying config sha256:83fc7ce1224f5ed3885f6aaec0bb001c0bbb2a308e3250d7408804a720c72a32
Writing manifest to image destination
!... Hello Podman World ...!

         .--"--.
       / -     - \
      / (O)   (O) \
   ~~~| -=(,Y,)=- |
    .---. /`  \   |~~
 ~/  o  o \~~~~.----. ~~
  | =(X)= |~  / (O (O) \
   ~~~~~~~  ~| =(Y_)=-  |
  ~~~~    ~~~|   U      |~~

Project:   https://github.com/containers/podman
Website:   https://podman.io
Desktop:   https://podman-desktop.io
Documents: https://docs.podman.io
YouTube:   https://youtube.com/@Podman
X/Twitter: @Podman_io
Mastodon:  @Podman_io@fosstodon.org
If you see these messages, then Podman is installed correctly and you can move on to the next step. If you see an error message, then you will need to have a look at the ‘dealing with errors’ section. Notice how there are several things happening:
Trying to pull...orPulling from library/hello-world– this is starting the process of downloading thehello-worldimage from the internet.Pull completeorWriting manifest to image destination– this is telling you that it has finished downloading the image.Hello from Docker!orHello Podman World– this is thehello-worldimage running and telling you that the image now running as a container.
There’s obviously a lot more to that message, but that’s the basic idea.
Running
We now need to download and run the sparc image that we created for the workshop. The image is the ‘template’ for running containers (i.e. virtual computers) on our ‘host’ computer and it comes complete with all of the Python libraries and other tools that you’ll need to complete the module (and a good deal more besides!). Installing the image will take a while as it’s quite large (1-5GB) and so will depend on the speed of your internet connection.
You can use a single command to download and start the sparc container by copying the following command into the Terminal or Windows Terminal (this may work in Power Shell, but not in the Command Prompt*/cmd):
podman run --rm -d --name sparc -p 8888:8888 \
   -v "$(pwd):/home/jovyan/work" \
  jreades/sparc:2025-amd start.sh jupyter lab \
--LabApp.password='' --ServerApp.password='' --NotebookApp.token=''If you were using Docker instead of Podman then the command is the same except that you need to replace podman with docker. This is on purpose: open source podman is intended to replace the proprietary docker.
podman run --rm -d --name sparc -p 8888:8888 \
   -v "$(pwd):/home/jovyan/work" \
  jreades/sparc:2025-arm start.sh jupyter lab \
--LabApp.password='' --ServerApp.password='' --NotebookApp.token=''If you were using Docker instead of Podman then the command is the same except that you need to replace podman with docker. This is on purpose: open source podman is intended to replace the proprietary docker.
podman run --rm -d --name sparc -p 8888:8888 -v "$(pwd):/home/jovyan/work" jreades/sparc:2025-amd start.sh jupyter lab --LabApp.password='' --ServerApp.password='' --NotebookApp.token=''If you were using Docker instead of Podman then the command is the same except that you need to replace podman with docker. This is on purpose: open source podman is intended to replace the proprietary docker.
If Things Go Wrong
If you encounter any problems with the installation, please have a look at the Dealing with Problems page.
Success!
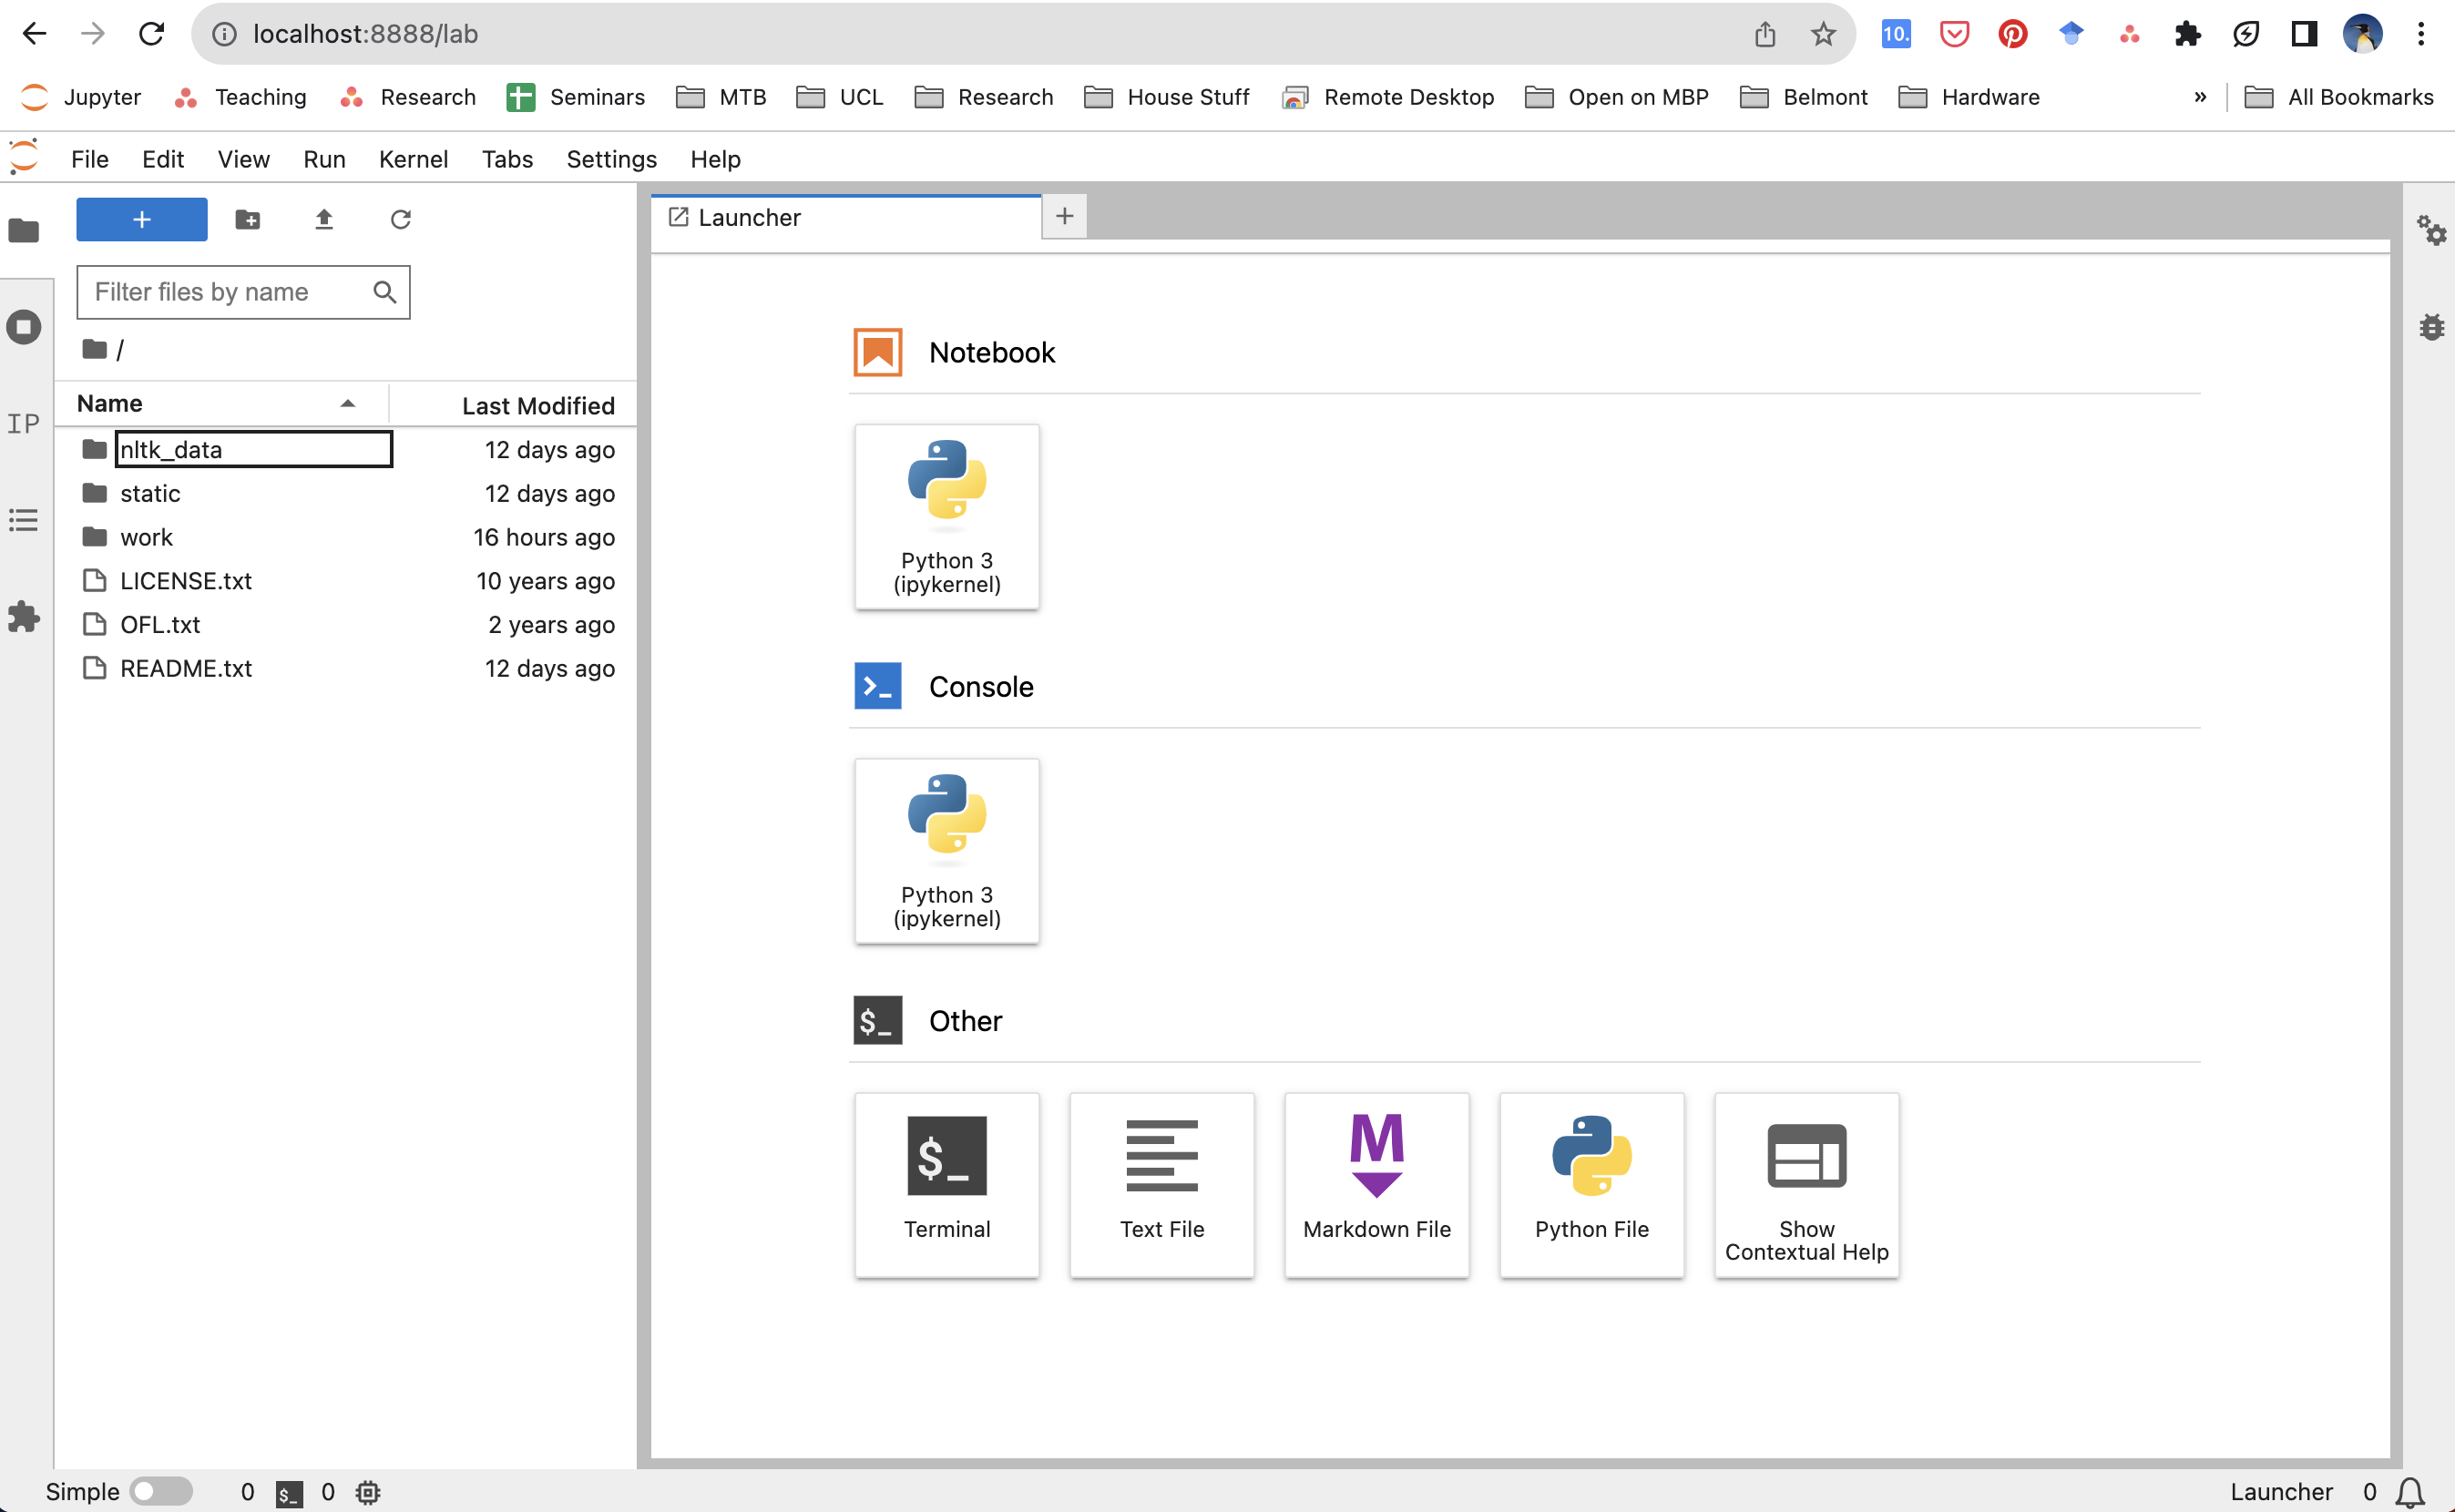
However, most of you should now be able to connect to the virtual machine by pointing your browser at: localhost:8888 where you should see something like this:
Footnotes
And Docker, which is basically the same thing.↩︎