Install ‘Fest’
This page is intended for use with our ‘install fest’ where students install and configure the key tools for our modules in one session. Please do not try to skip to the next section before completing the required or essential steps of the previous one.
Basic Requirements
If your computer is less than 4 years old, has at least 16GB of RAM and more than 30GB of free disk space then you’re probably fine. The only other common pitfall is having Windows 10 Home installed.
If your computer doesn’t meet the base requirements, have a look at our recommendations below.
We try to support as many different configurations as possible, but there is no programming environment that installs and runs seamlessly on all computers so if you run into issues please come back to this guide.
Hardware Requirements
In our experience the students most likely to encounter problems share one or more of the following:
- Your computer has less than 16GB of RAM.
- Your computer has less than 30GB of free disk space remaining.
Read on below to check what specification you have…
You will need to look up:
- How much RAM does your computer have? Help for Mac.
- How much free disk space does your computer have? Help for Mac.
You will need to look up:
- How much RAM does your computer have? Help for Windows.
- How much free disk space does your computer have? Help for Windows.
We’re going to assume that you know what you’re doing. If you want a recommendation, we’d probably go with the latest Ubuntu desktop release.
If your computer has 16GB or less of RAM and/or less than 30GB of free disk space you are very likely to have issues with virtualisation and (on Windows) WSL2. Your options are: 1) add more RAM (possible on most Windows computers); 2) back up and remove unnecessary files (Movies, Photos, and Applications are particularly big ‘hogs’).
Which Chipset?
Apple has stopped using Intel/AMD computer chips and now uses its own ‘Apple Silicon’ (aka ‘M’) chips instead. Confusingly, these are often also referred to by their technical specification as ARM64. To find out which you have, click on the Apple icon () and select About this Mac. Look at the Processor section and you should see which type of computer you have. If you see the word Intel then you have an Intel/AMD chipset (AMD64), if you see M1, M2, M3, etc. then you have an Apple Silicon (ARM64) computer.
It is highly unlikely that you have a 32-bit machine, but every year we find one or two older machines that use this architecture. Microsoft says that you can check which kind of chip you have by doing the following:
Select ⊞
Startand then selectSettings>System>About. Look at theDevice specifications.
It is also unlikely that you have an ARM device if you have an off-the-shelf Windows computer. But to confirm, in the same Device specification section:
Check the System type line to see if it says “x64-based processor” (for AMD/Intel) or “ARM-based processor” (for ARM).
System Updates
Before going any further, please ensure that your computer is fully up-to-date with all Operating System and application updates before following any of the other steps in this brief guide to getting started.
Windows-Only (Essential)
If you are on a Windows machine you must check that virtualisation has been enabled in the registry first. You can skip this section if you are using a Mac.
Many Windows computers are shipped without virtualisation enabled be default. You will need to check that this ‘feature’ is active on your computer before trying to install WSL2 and run Podman. To check if the feature is enabled or enable it (same process) please do the following:
- Click on the ⊞ Windows button and search for
Windows Features - In the Windows Features popup you need to find and turn on:
Virtual Machine Platform(should be set to ‘on’)Windows Hypervisor Platform(should be set to ‘on’)
- Now restart your computer before moving on to the next section.
Base Utilities
In order to access the majority of the features that this module uses, you will need to install several ‘base’ utilities:
You need the Xcode Command Line Tools installed on your Mac. In some cases this may have already been installed, but it’s the same process to check as to install:
- Open the
Terminalapplication (which can be found underUtilitiesin yourApplicationsfolder). - Type the following:
xcode-select --installand then hit Enter (⏎)
Unless you get an error, you can proceed to the next step.
You will need to install WSL2 but, strangely, you do not actually need to install a full Linux O/S, so as far as we can tell this means you only need to do the following:
- Open the
Windows PowerShellapplication (which you can find from the ‘search’ button) - Type the following:
wsl --installand then hit Enter (⏎)
That should be it, but please read the output of this command is not an error! Unless you get an error, you can proceed to the next step.
If you cannot install WSL2 then please have a look at the problems page, but there is also good guidance from Microsoft for Windows 11 and more recent ‘builds’ of Windows 101.
Common installation errors are covered here.
Finally, if you are still being told that you can’t install WSL2 and Linux, then the most likely cause of this issue is a setting in the BIOS of the computer itself. There are a couple of settings that need changing at a very low level to enable Hyper-V virtualisation. I would start by following this MS guide and, if there is still a problem, check this blog post.
Downloading
Please download all of the Essential software for your computer. Installation is covered in the next section.
- Essential:
- Optional:
- Essential:
- Optional:
- Essential:
- Windows Terminal installed via either the Windows Store or the following Power Shell command
winget install Microsoft.WindowsTerminal. - Podman Desktop
- GitHub Desktop
- Git
- Windows Terminal installed via either the Windows Store or the following Power Shell command
- Optional:
Installing
You can install the updated Terminal and Git/GitHub Desktop whenever you like, and you shouldn’t encounter any issues as these are quite straightforward applications. When setting up GitHub Desktop please ensure that you use your UCL email address to create the new account with GitHub.
Please ensure that you have updated the Windows Virtualisation Features and installed WSL2 before installing this software!
Now that you’ve downloaded Podman:
- Install it – usually this will mean opening the image and either dragging it your Application folder (Mac) or running the installer (Windows)
- Start it up – double-click the Podman icon in your Applications folder (Mac) to start the application running.

If you don’t see this window (or see lots of errors) then you may need to have a look at the ‘dealing with errors’ section.
Installation on a Mac should be fairly straightforward (as evidenced by the dearth of documentation), but for Windows there is quite a bit more detail.
Configuring
Podman requires you to create a virtual machine with user-specified characteristics before you can run an image. You can think of this as specifying the ‘hardware’ of the computer before you buy it (How much RAM? How big a hard drive? And so on.). In principle, this means that you can have more than one valid configuration at a time which would allow you to tune each virtual machine to your needs (one machine could have a lot of memory, another a lot of storage).
Here’s the quick-start version:
In iTerm2 you simply type (hitting Enter after each line):
podman machine init
podman machine start
In the Windows Terminal you should be able to simply type (hitting Enter/Return after each line):
podman machine init
podman machine startIn a small number of cases on Windows we’ve had error messages about permissions and been unable to start the machine that was created using init. In that case, it seems that you just need to create a new, named virtual machine (e.g. podman machine init myvm) and then change the default machine.
If you’d like to read more about fine-tuning your Podman machine we’ve got a page for that.
Testing
Whenever you see a ‘code block’ below, you will also see a ‘clipboard’ icon (![]() ) in the right. Click that, and the code will be copied to your computer’s ‘clipboard’ so that you can then paste it into the
) in the right. Click that, and the code will be copied to your computer’s ‘clipboard’ so that you can then paste it into the Terminal or Windows Terminal (see Base Utilities. That will save you a lot of time and effort.
To test if Podman is installed correctly, you will need to start either iTerm (macOS) or the Windows Terminal (Windows). Podman has provided a simple way to test if your installation is working correctly. You can run the following command:
podman run hello-worldRunning hello-world should output something like:
Resolved "hello-world" as an alias (/etc/containers/registries.conf.d/000-shortnames.conf)
Trying to pull quay.io/podman/hello:latest...
Getting image source signatures
Copying blob sha256:1ff9adeff4443b503b304e7aa4c37bb90762947125f4a522b370162a7492ff47
Copying config sha256:83fc7ce1224f5ed3885f6aaec0bb001c0bbb2a308e3250d7408804a720c72a32
Writing manifest to image destination
!... Hello Podman World ...!

         .--"--.
       / -     - \
      / (O)   (O) \
   ~~~| -=(,Y,)=- |
    .---. /`  \   |~~
 ~/  o  o \~~~~.----. ~~
  | =(X)= |~  / (O (O) \
   ~~~~~~~  ~| =(Y_)=-  |
  ~~~~    ~~~|   U      |~~

Project:   https://github.com/containers/podman
Website:   https://podman.io
Desktop:   https://podman-desktop.io
Documents: https://docs.podman.io
YouTube:   https://youtube.com/@Podman
X/Twitter: @Podman_io
Mastodon:  @Podman_io@fosstodon.org
If you see the above messages, then Podman is installed correctly and you can move on to the next step. If you see an error message, then you will need to have a look at the problems page.
Notice how there are several things happening:
Trying to pull...orPulling from library/hello-world– this is starting the process of downloading thehello-worldimage from the internet.Pull completeorWriting manifest to image destination– this is telling you that it has finished downloading the image.Hello from Docker!orHello Podman World– this is thehello-worldimage running and telling you that the image now running as a container.
There’s obviously a lot more to that message, but that’s the basic idea.
Running
We now need to download and run the sds2025 image that I created over the summer. The image is the ‘template’ for running containers (i.e. virtual computers) on our ‘host’ computer and it comes complete with all of the Python libraries and other tools that you’ll need to complete the module (and a good deal more besides!). Installing the image will take a while as it’s quite large (1-5GB) and so will depend on the speed of your internet connection.
You can use a single command to download and start the sds2025 container by copying the following command into the iTerm (which I’ll also call the ‘Terminal’ from here on out) or Windows Terminal (which I’m also going to start calling the ‘Terminal’ from here on out). On Windows, the below commands may work in Power Shell, but they will not work in the Command Prompt/cmd):
podman run --rm -d --name sds2025 -p 8888:8888 \
   -v "$(pwd):/home/jovyan/work" \
  jreades/sds:2025-amd start.sh jupyter lab \
  --LabApp.password='' --ServerApp.password='' --NotebookApp.token=''
podman run --rm -d --name sds2025 -p 8888:8888 \
-v "$(pwd):/home/jovyan/work" \
jreades/sds:2025-arm start.sh jupyter lab \
--LabApp.password='' --ServerApp.password='' --NotebookApp.token=''podman run --rm -d --name sds2025 -p 8888:8888 -v "$(pwd):/home/jovyan/work" jreades/sds:2025-amd start.sh jupyter lab --LabApp.password='' --ServerApp.password='' --NotebookApp.token=''podman run --rm -d --name sds2025 -p 8888:8888 -v "$(pwd):/home/jovyan/work" jreades/sds:2025-arm start.sh jupyter lab --LabApp.password='' --ServerApp.password='' --NotebookApp.token=''If you were using Docker instead of Podman then the command is the same except that you need to replace podman with docker. This is on purpose: open source podman is intended to replace the proprietary docker.
If Things Go Wrong
If you encounter any problems with the installation, please have a look at the Dealing with Problems page.
Success
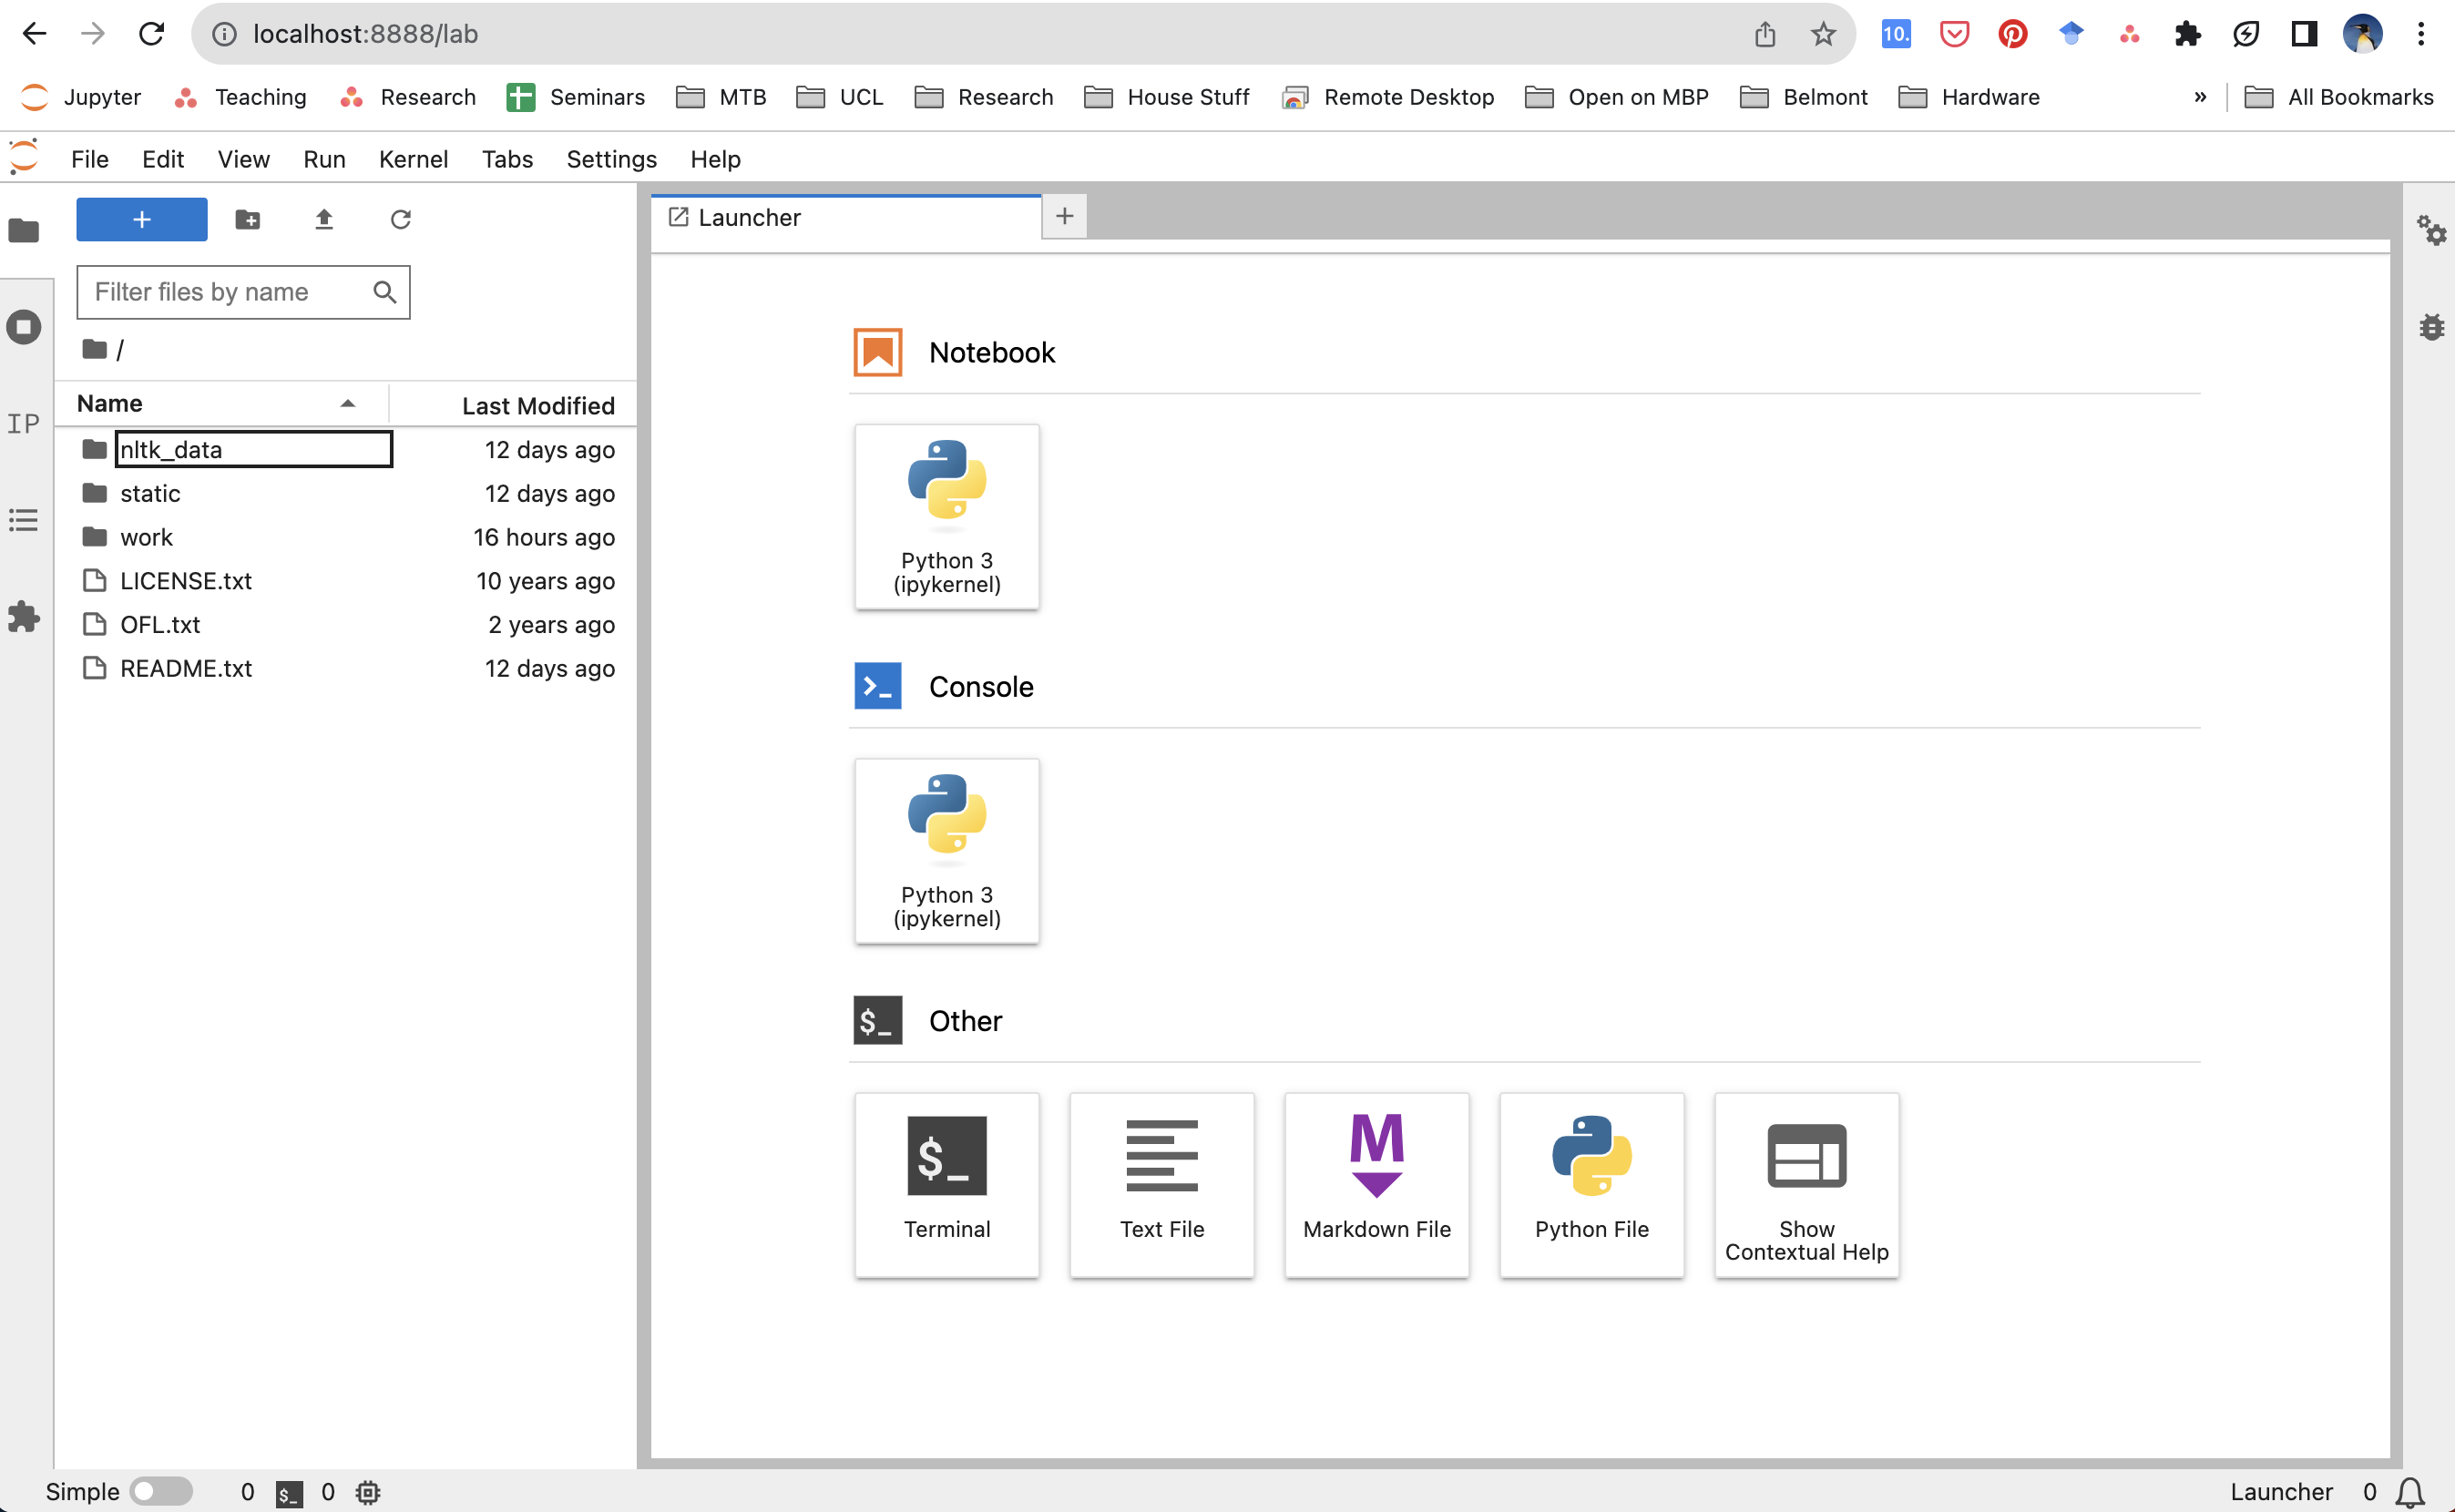
Most of you should now be able to connect to the virtual machine by pointing your browser at: localhost:8888 where you should see something like this:
Footnotes
There are also older instructions for Windows 10.↩︎